Print-Ready Design for Heat Transfers: A Guide to Professional Software
If you've already got some design experience, this guide is for you. It covers the three professional tools most commonly used for heat transfer work: what each one does well, where it fits in your workflow, and exactly how to get your files print-ready for Supacolour.
If you're just starting out with design, you might want to start with our beginner guide to design software first.
What Supacolour needs from your file
These are the requirements that matter most for professional-grade files:
CMYK colour mode. Supacolour runs a seven-colour print process. Design in CMYK rather than RGB to ensure colour accuracy. RGB files will be converted before printing and some colours, particularly neons and saturated hues, can shift in the process.
Vector files preferred. Supacolour accepts all formats but prefers vector: PDF, .ai, .cdr, or .svg. Vector files scale infinitely without quality loss. Raster files work too, but must be set up at the final print size at 300dpi minimum.
Fonts converted to outlines. Convert all text to outlines or shapes before submitting to guarantee typography renders exactly as designed, regardless of what fonts are installed at the printing end.
Minimum line weight of 0.2mm. Free-floating lines below this threshold can disappear in print. Check small details and fine lines before submitting.
Pantone Solid Coated colours ending in C. For PMS colour matching, use only official Pantone Solid Coated swatches. Pantone colours for uncoated paper, textiles, or other surfaces don't translate correctly to Supacolour's process. Note: PMS matching is not available for SupaDTF.
Keep artwork solid and opaque. Semi-transparent effects like drop shadows, glows, and soft fades need to be encased by something solid with hard edges. Transparent effects that aren't handled this way can print muddy or softer than expected.
Transparent background. No white background unless white is part of the design. If your file has a white background, that white box will print as part of your transfer and appear on the garment. There is a background remover button underneath the artwork uploader on every Supacolour product page if you need to remove a background quickly before ordering.
Expand pattern fills and embed linked images. Expand pattern fills before submitting. Any linked images need to be embedded, or save the file as a PDF.
Download the full art specs and size templates.
Adobe Illustrator: the industry standard for print-ready vector design
Paid subscription via Adobe Creative Cloud. Approximately USD $22.99/month on an annual plan. Check adobe.com for current regional pricing.
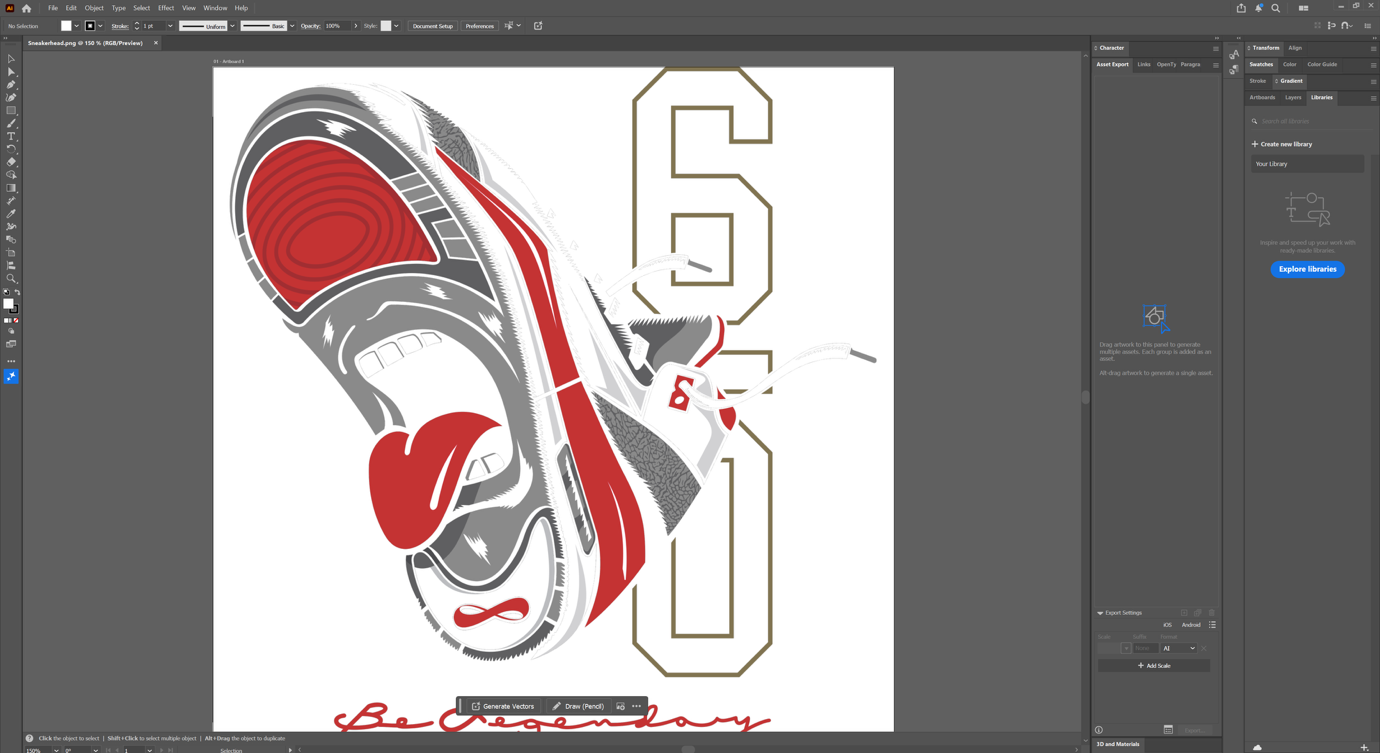
Illustrator is one of Supacolour's preferred formats. It's vector-based, CMYK-native, and has the deepest Pantone colour library integration of any tool in this guide. Designs scale to any size without quality loss, meaning one well-built file works across every transfer size you'll ever order.
The tools for print prep are all there: Type > Create Outlines for font conversion, Object > Expand for pattern fills, and saving as PDF (High Quality Print) or .ai produces a clean, ready-to-print file. Illustrator also integrates with Photoshop for any raster elements: logos and vector graphics in Illustrator, photo-based elements in Photoshop, combined via linked files.
The honest downsides: the learning curve is real, and Adobe's subscription pricing is an ongoing cost that increases regularly. If you're doing heat transfer work professionally or at volume, Illustrator pays for itself in reduced file errors and faster turnaround. If cost is a concern, Affinity covers most of the same ground for free.
Supacolour tip: Design in CMYK. Use Pantone Solid Coated colours for PMS matching. Convert all fonts to outlines before saving (Type > Create Outlines). Expand pattern fills (Object > Expand). Check minimum line weight at 0.2mm. Export as PDF (High Quality Print) or .ai.
Adobe Photoshop: for photo-based and complex raster artwork
Paid subscription via Adobe Creative Cloud. Check adobe.com for current pricing.
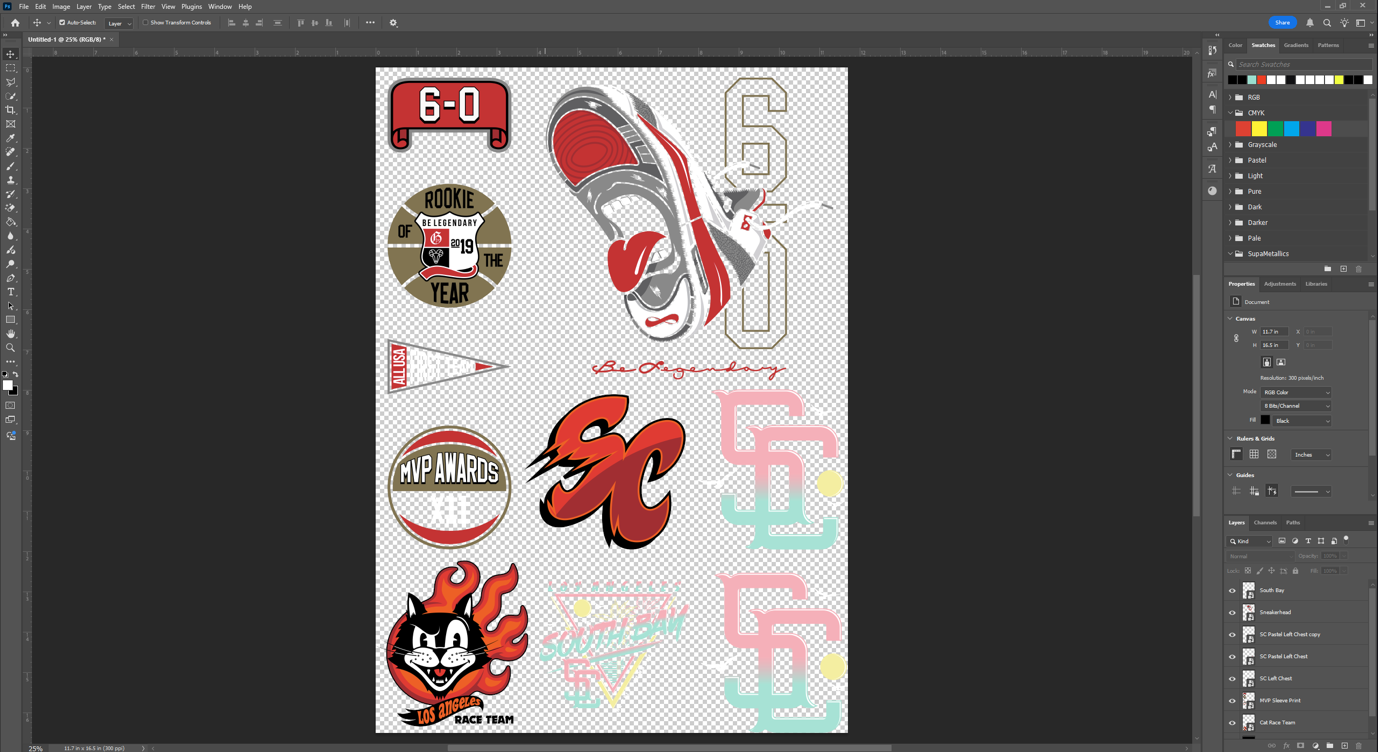
Photoshop is the right tool when your design involves photography, photo compositing, realistic illustration, or complex texture work. It has full CMYK support, produces high-resolution output, and gives you pixel-level control over every element.
For heat transfer design, Photoshop is best used alongside Illustrator rather than instead of it. Logos, text, and anything that needs to scale belongs in Illustrator. Photo-based elements and raster artwork belong in Photoshop. Simple graphics built in Photoshop look fine at one size but lose quality the moment they're resized — it's a raster tool, not a vector one.
To set your colour mode: Image > Mode > CMYK. Set resolution to 300dpi at your final print size. These two settings need to be correct from the start — changing them after the design is done can affect quality.
Supacolour tip: Design in CMYK mode from the start (Image > Mode > CMYK). Set resolution to 300dpi at your final print size. Export as PDF (High Quality Print) or PNG with transparent background. If incorporating Illustrator artwork, link the file rather than flattening it so you can keep editing both separately.
Affinity: professional design software, now free
Free. Core tools require a free Canva account to download and activate. AI features require a Canva Pro subscription.
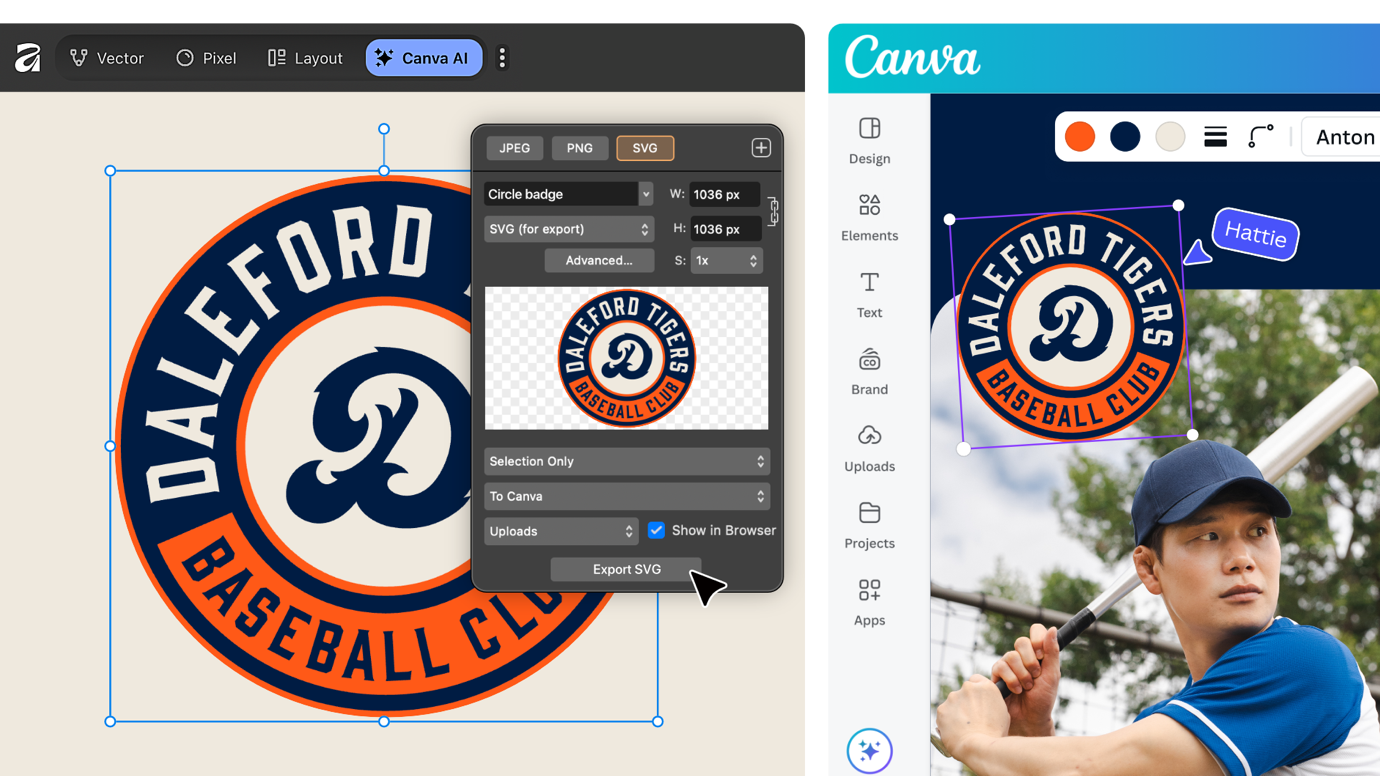
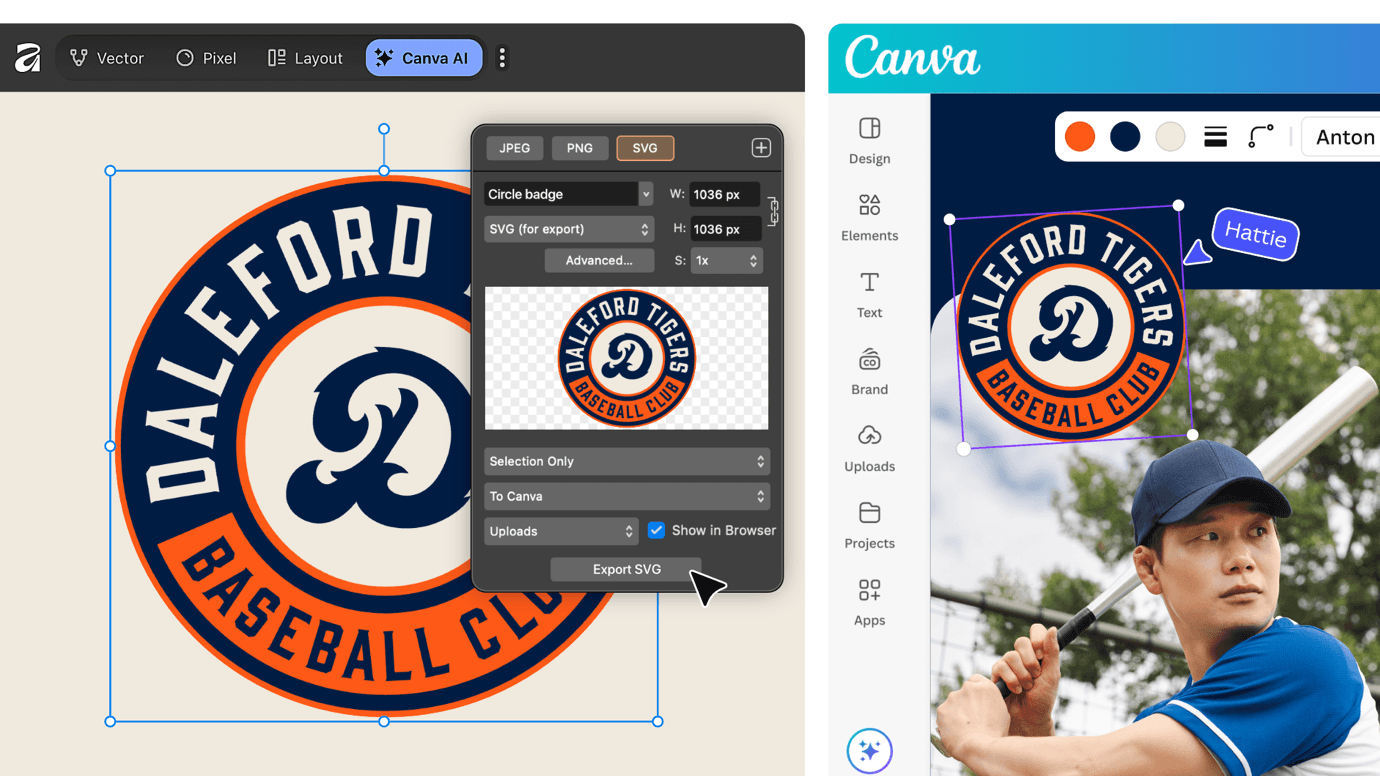
In October 2025, Canva made the entire Affinity suite completely free. What were previously three separate paid apps — Designer, Photo, and Publisher — are now one unified app simply called Affinity. The full professional toolset is free with no stripped-back version. AI features like generative fill and background removal are optional extras that require a Canva Pro subscription, but for print design work you won't need them.
It handles vector and raster work in the same application, has full CMYK support, and exports press-quality PDFs and SVGs. The interface is different from Illustrator but shares the same fundamental concepts. Most Illustrator users find the adjustment period short.
The honest comparison with Illustrator: Affinity's colour management is solid for most print workflows. But Illustrator has deeper Pantone colour library integration and more granular control over colour separations. For most heat transfer work this won't matter. If you're doing high-volume professional print work where precise PMS matching is critical on every single job, Illustrator has the edge.
For anyone starting out in professional design, or anyone who wants to stop paying an Adobe subscription, Affinity is now the obvious starting point.
Supacolour tip: Set your document to CMYK before you start. Export as PDF (Print) or SVG. Convert fonts to curves before exporting. If sharing files with Illustrator users, export as PDF rather than the native .af format to avoid compatibility issues.
How the three compare
| Adobe Illustrator | Photoshop | Affinity | |
|---|---|---|---|
| Cost | Paid subscription | Paid subscription | Free |
| Vector or raster | Vector | Raster | Both |
| CMYK native | Yes | Yes | Yes |
| PMS matching | Yes (deepest integration) | Yes (manual) | Yes (solid for most workflows) |
| Supacolour preferred format | Yes (.ai / PDF) | Yes (PDF / PNG) | Yes (PDF / SVG) |
| Best for | Logos, text, scalable graphics | Photo-based artwork | All-round professional design |
| Learning curve | Steep | Moderate | Moderate |
Just getting started?
If you're new to design, the tools above might be more than you need right now. Start with our beginner guide covering Kittl, Canva, and Procreate.