
Supacolour Mask Transfer
How to Press Masks Like a Supastar
1
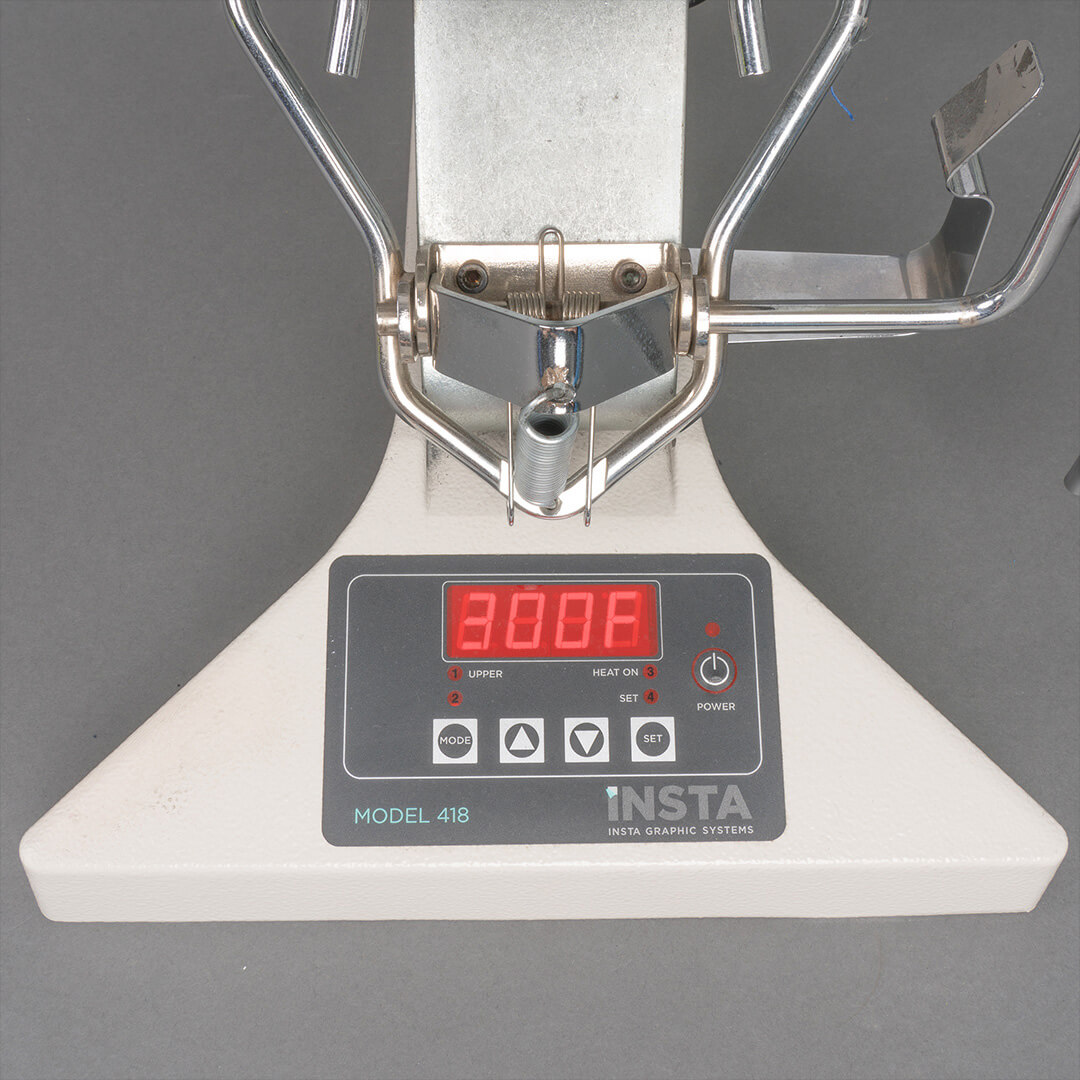
Set Temperature and Time
- Cotton 300 – 320F (150-160C)
- Polyester 290-300F (140-150C)
2
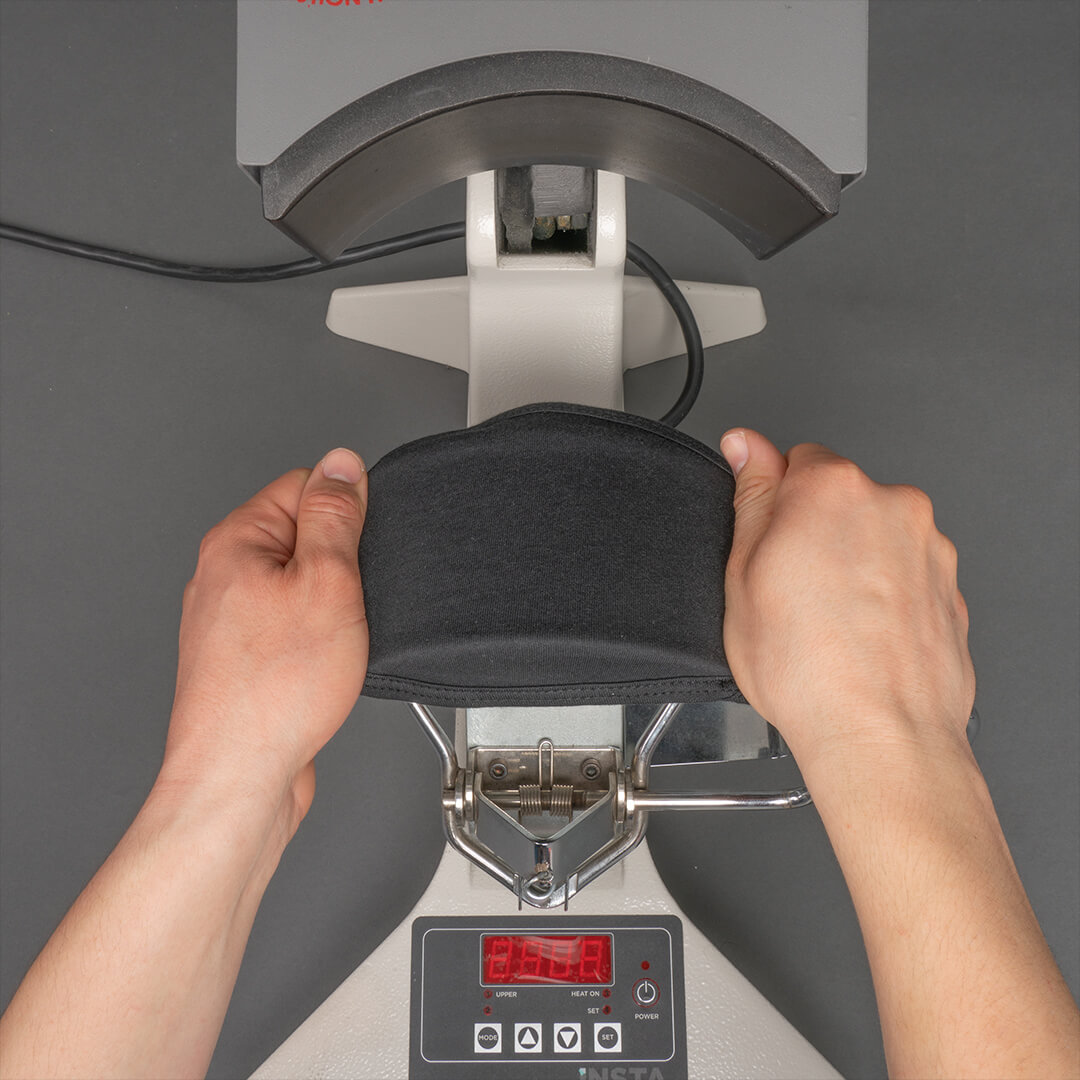
Load a Test Mask
Lay on the platen so only one layer or smooth out if multilayer – use smallest platen if possible or build up in the center of the press or use a Hat Press to avoid seams.
3
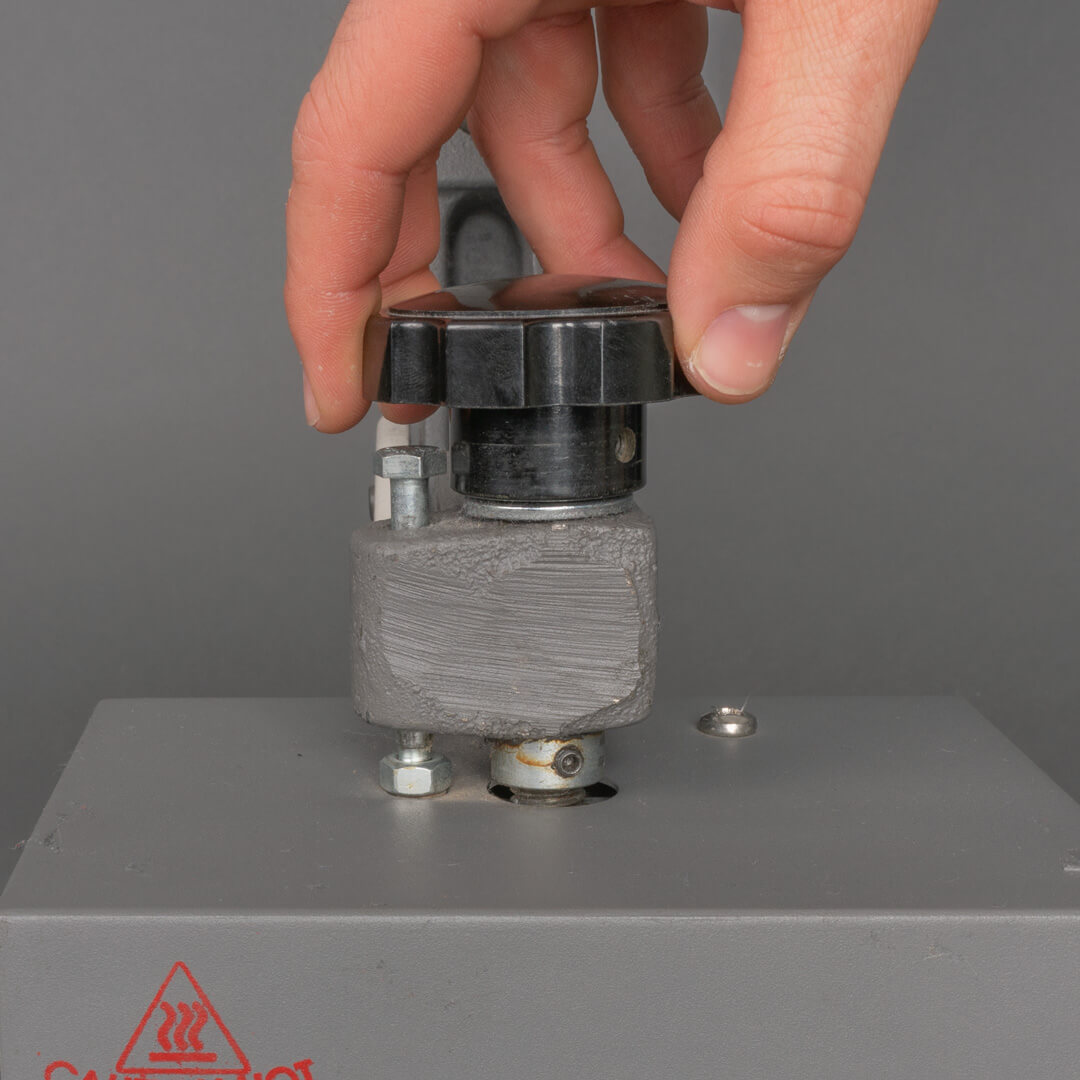
Set Pressure
- Manual Press: Tighten dial until the press won’t close. Loosen dial progressively until the press closes. Use less pressure on polyester.
- Hotronix Hat Press: 8-9.
- Hotronix and Geo Knight: 7-8
- Pneumatic Press: 35-40 PSI
4
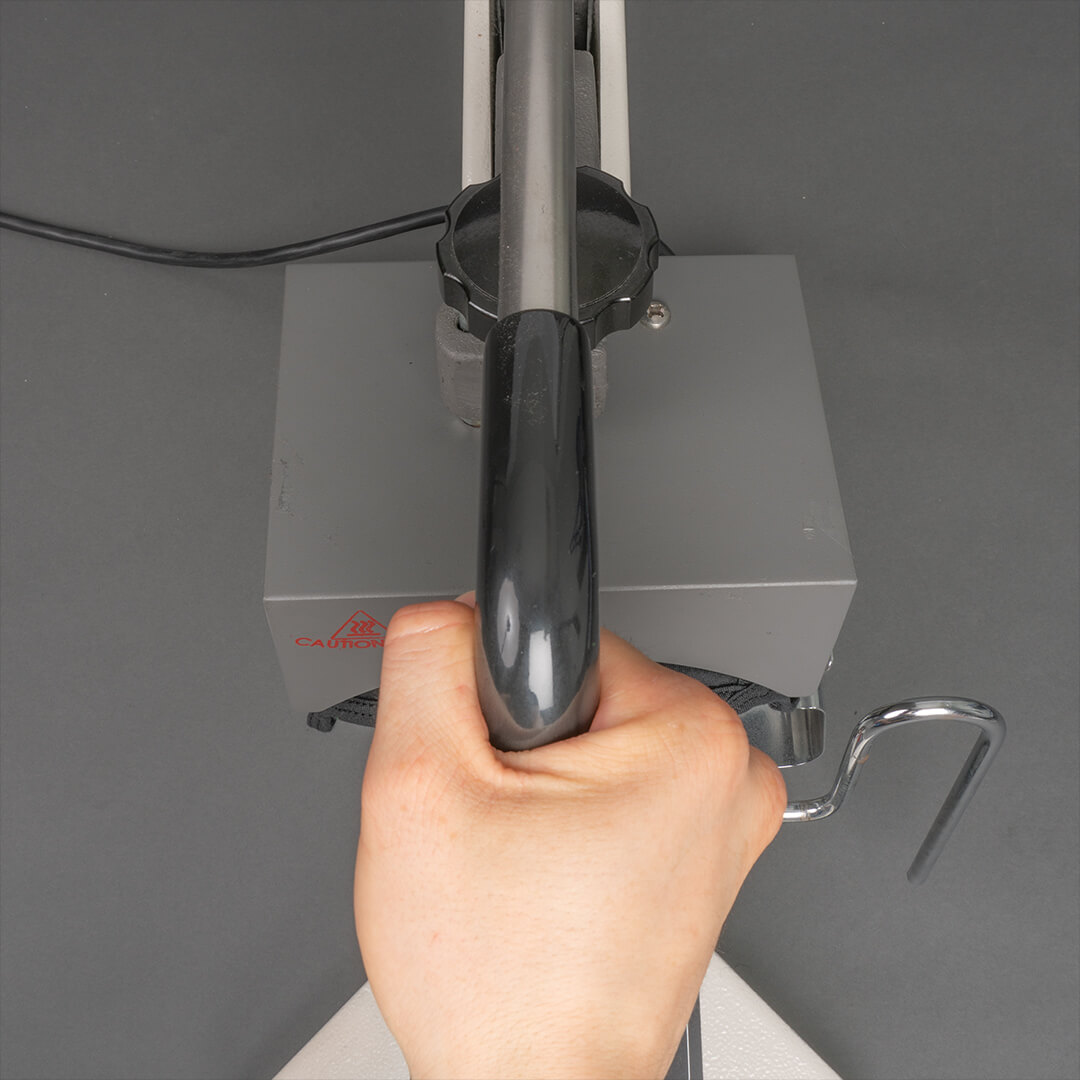
Pre Press 5 Seconds (Cotton Only)
Pre press 5 seconds for cotton to release moisture from the garment. No pre press for polyester.
5
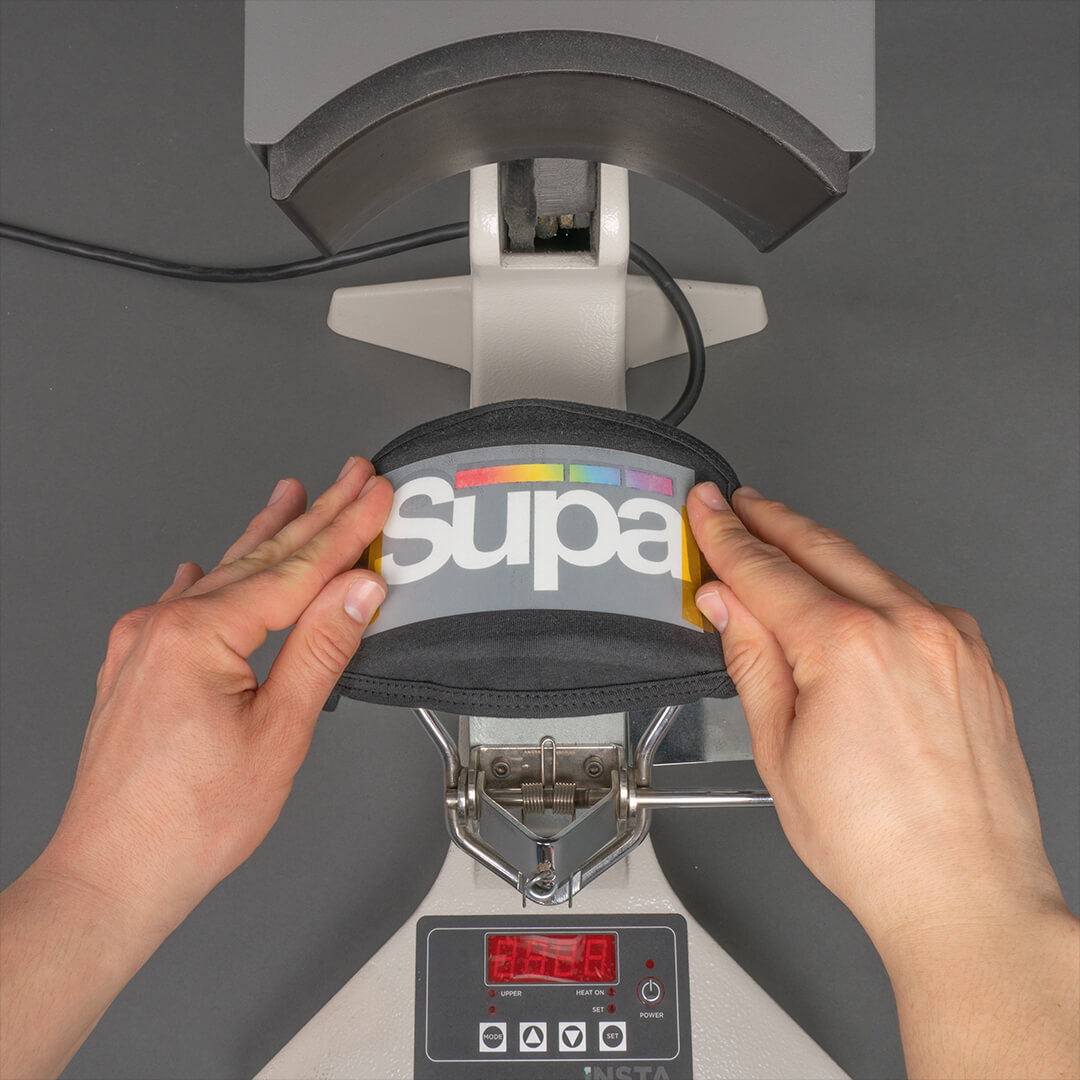

Place Supacolour
Position the transfer on the garment. Lay teflon sheet or parchment paper over the Supacolour.
6


Press 8-12 Seconds
7
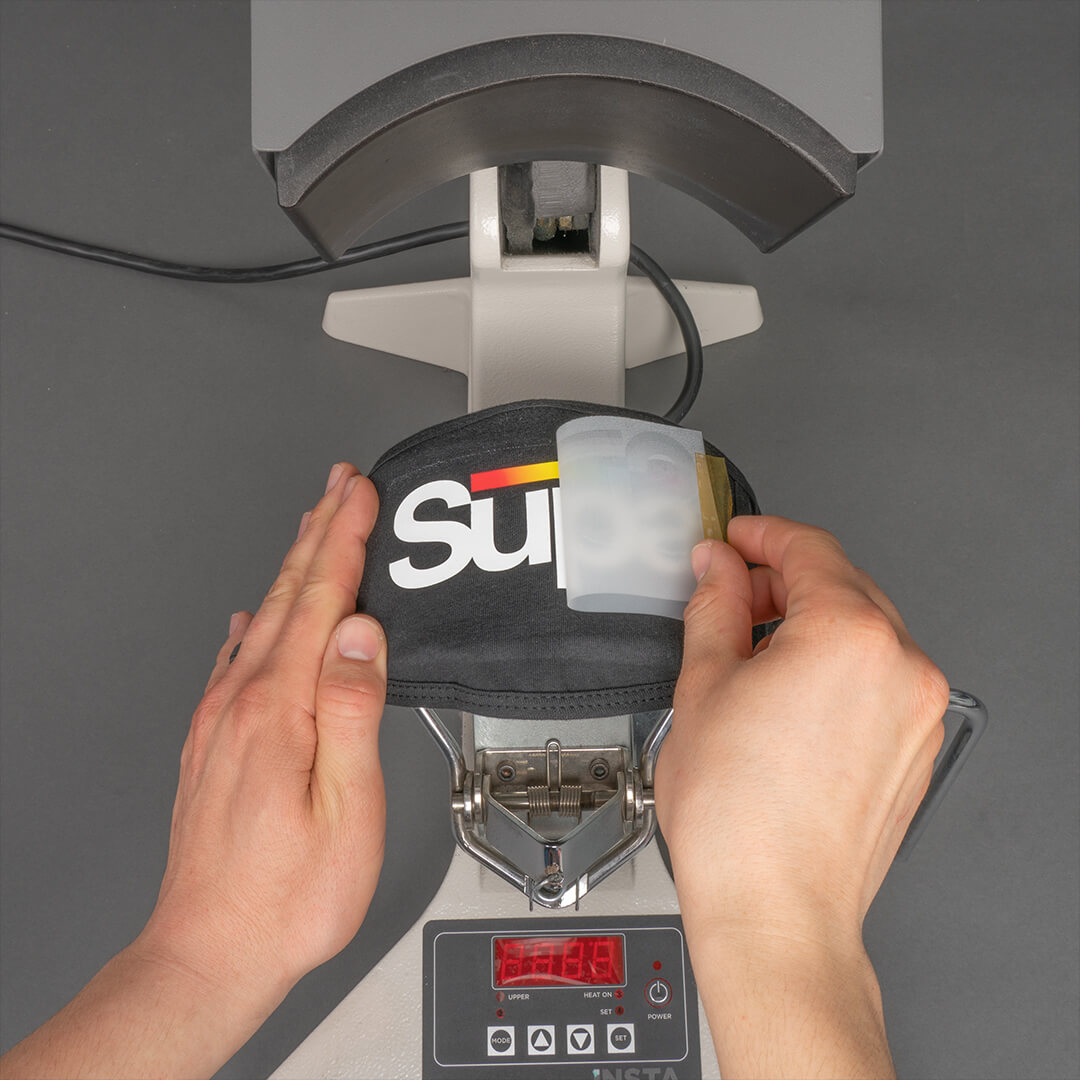

Peel Immediately
Hot peel immediately from a corner in one smooth motion. Peel with confidence and without hesitation.
8


Post-Press: 2 Seconds
Use a teflon sheet or parchment to seal the edges of the Supacolour.


- Always test press on a spoiled mask to dial in your press before pressing your production.
- Supacolour always gives you spares so you can dial in your press.
- Supacolour not sticking when you peel? Increase pressure and peel quickly within 2 seconds of lifting press.
- Still won’t peel easily? Repress for 4 seconds then try from a different corner.
- These instructions are your default starting point, settings may vary for different garments and presses.
